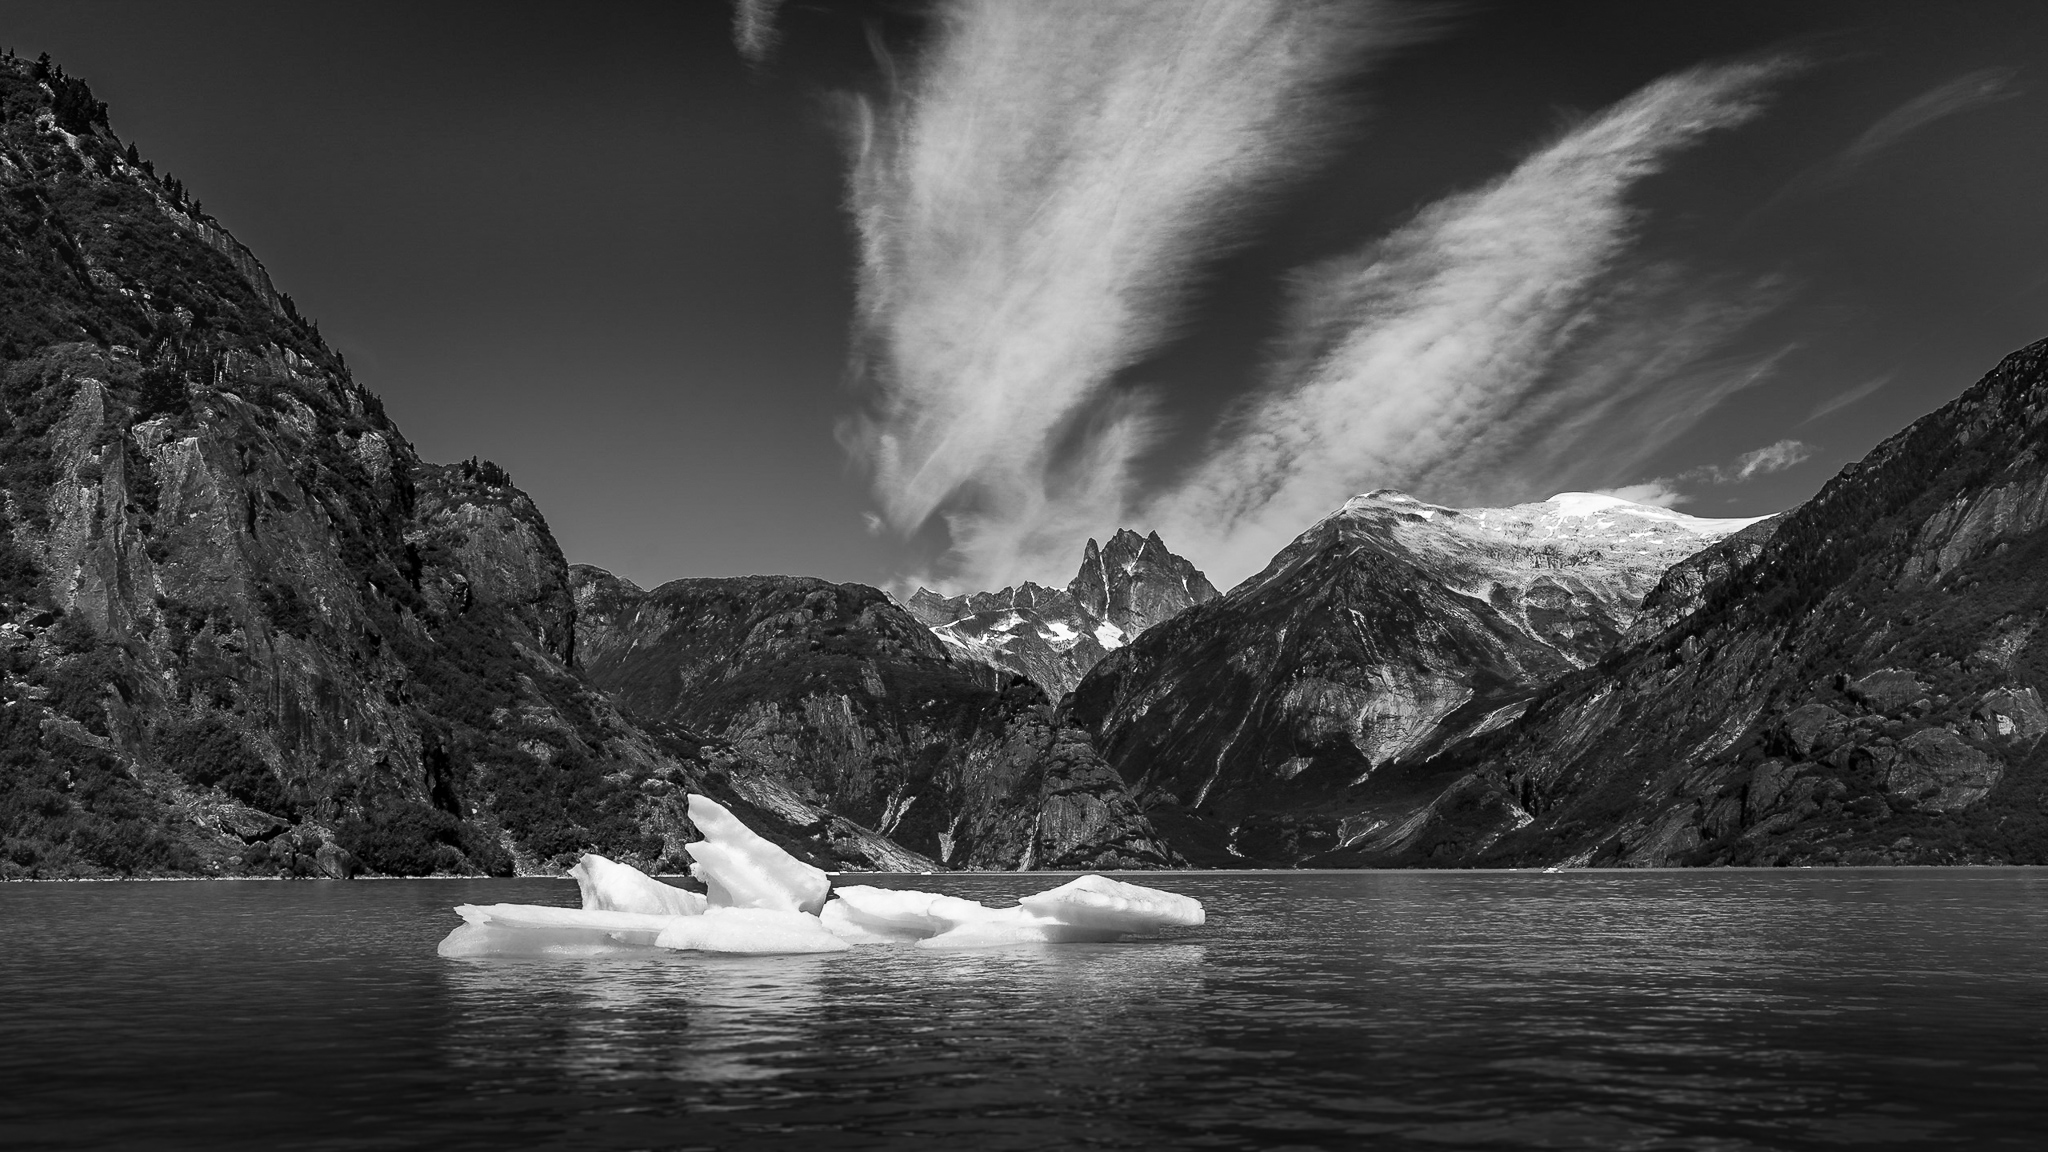
These Presets are available for Patrons to download from Patreon.com/markgaler
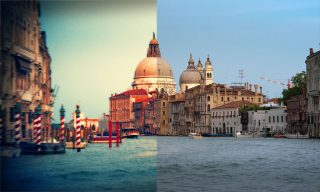
This an overview of my 24 Lightroom ‘Prime‘ Presets (for patrons to download) that I use most often when I want to fast-track my editing workflow. Lightroom Presets are ‘One-Click Wonders’ and enable a series of complex edits to be applied to an image with a single click of the mouse. It is possible to apply more than one Preset to build up a desired effect. It is recommended that you optimise the Exposure of the image before applying the Preset. It also recommend that after applying the Preset you optimise both the Whites (white clipping) and Blacks (black clipping) in the Basic Panel of the Develop Module.
IMPORTANT NOTE > Adobe Develop Presets changed file format from ‘.lrtemplate‘ to ‘.xmp‘ in mid 2018. If you import the older .lrtemplate presets (as directed by the movie below) they will now be converted to .xmp files and moved to the Settings folder in the Camera Raw folder. .xmp Develop Presets can now be used in Adobe Camera Raw and Lightroom CC as well as Lightroom Classic. It is easier, however, to load the older style .lrtemplate develop presets into Lightroom Classic as the folder structure is added to the Presets panel rather than just importing all new .xmp presets into one ‘User Presets‘ folder. The link below will follow this import workflow.
The Presets include:
- 2 x Black and White Conversions (Standard and High Contrast variations) – apply AFTER the Landscape or ESP Pop if you want to retain the drama of these Presets
- 4 x Border presets – These apply a white or black border around your image or burn the edge darker.
- 2 x Defocus Presets for creating a simulated shallow depth-of-field look (you may need to refine the position of the Graduated Filters to perfect the effect).
- 3 x High Contrast Correction presets – for creating a better starting point when editing images that were captured when the subject brightness range (contrast) was high or extreme.
- 2 x Lens Corrections Presets
- 2 x Noise Reduction Presets
- 2 x Sharpening Presets
- 4 x Vignetting Presets (these utilise the Radial Filter rather than Post-Cropping Vignette controls) – this enables you to use them in conjunction with the border presets.
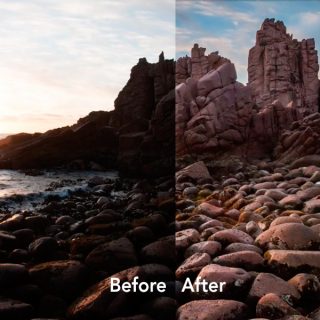
- 1 x Landscape Pop Preset – creates a better starting point for editing Landscape images (this includes two graduated filters already set up – you will however, need to fine-tune their position and strength).
- 1 X ESP POP Preset that creates a better starting point for editing images where you would prefer a starting point that is a lot less ‘flat’.
- 3 x Zero Presets. I have also included three different ‘Zero’ Presets so that you don’t have to completely reset the image if you decide to go back to a certain stage of your editing workflow.


Select one of your images (it is better to start on an image that was correctly exposed so that you can clearly see the effect of the preset).
NOTE > After clicking on the Preset you will probably need to fine-tune the effect by adjusting some of the sliders in the Basic panel.
Related products
E-Books
This eBook offers you learning supporting and contains links to 42 video tutorials that will help you master the craft of taking creative and technically excellent photographs.
This 250-page eBook is a post processing masterclass that looks at the powerful tools we can use to develop our images.
Movie Tutorials
A one-hour tutorial to get you up and running in Adobe Lightroom.
Photoshop Actions
Tired of pin-sharp, noise-free images from your 24 Megapixel Pro ILC, try this grunge effect to give your images the toy camera aesthetic – think WEIRD – think GRUNGE!
Learn
This eBook offers you learning support to help you master the craft of taking creative and technically excellent photographs. The eBook includes links to 50 video tutorials.
post-production
This Action splits a layer into high and low frequency layers. You then need to edit the high and low frequency layers manually to complete the process
Develop: Editing Images with Extreme Contrast
These objective edits include setting a custom white balance (if one has not already been set in camera), setting the whites and blacks, applying the lens profile and setting our preferred sharpening settings.
post-production
Add creative lens flare to your images in a controlled way using Photoshop and this action and image resource.
This Tutorial uses an Auto Tone adjustment, Auto Upright, a 16:9 crop, some added Presence and a Graduated filter before creating a Develop Snapshot.
Lightroom Presets
Four Print Templates (A4 and US Letter) for Adobe Lightroom.
In this tutorial I demonstrate the use of Graduated Filters in Lightroom to not only modify tone, but also colour temperature.


