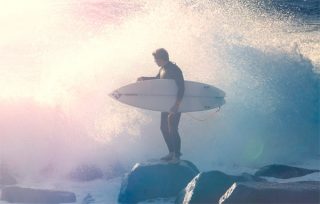
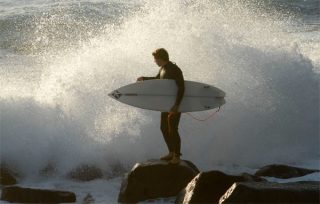
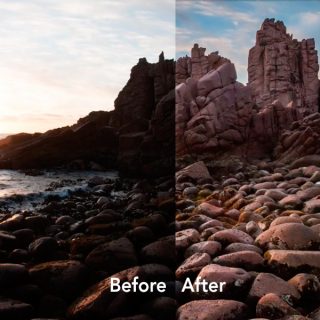
In this tutorial I demonstrate the use of Graduated Filters in Lightroom to not only modify tone, but also colour temperature.
As the subject brightness range (SBR) is not particularly high at the time of day that I captured theses images, I did not need to use a graduated filter in fron of the camera lens to prevent clipping or overexposure of the sky.
Applying graduated filters in post-production has many advantages as you will see in the movie. In some instances, where the subject brightness range is high, you may still prefer to use a graduated filter in front of the camera lens. With my full-frame Sony sensors I find that I just need to exposure for the sky and restore the shadows in post-production editing.
 Help Me Create Additional Learning Resources:
If you find the eBook helpful please consider making a donation to support the web hosting costs and creation of new content. Go the Donations page https://www.markgaler.com/product/donations or click on this link http://paypal.me/alphacreativeskills
The Raw file used in the second half of this tutorial can be downloaded here: Graduated Filters.dng
Please respect my intellectual property and do not share this image. Thanks
Related products
This movie tutorial is aimed at still photographers who own DSLR or Mirrorless cameras and would like to increase their skills in capturing high quality movie clips.
post-production
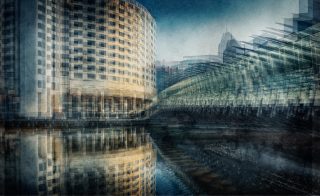
This action creates a triple-vision effect and works well when you apply it to urban structures and geometric designs.
post-production
Add creative lens flare to your images in a controlled way using Photoshop and this action and image resource.
post-production
A Curves Preset that delivers the Orange and Teal grading effect.
Everything you need to know in order to create dynamic timelapse movies
Develop
This tutorial demonstrates how to edit an image for a dramatic final effect using all of the major tools available in the Develop module.
Movie Tutorials
A one-hour tutorial to get you up and running in Adobe Lightroom.
This extended tutorial takes you through the entire editing workflow in Lightroom's Develop module
Develop: Editing Images with Extreme Contrast
These objective edits include setting a custom white balance (if one has not already been set in camera), setting the whites and blacks, applying the lens profile and setting our preferred sharpening settings.
Visit the Alpha Creative Skills YouTube Channel to access useful tips and techniques about using your Sony Alpha camera. Be sure to Subscribe so that you are notified when new movies become available.
post-production
This Action splits a layer into high and low frequency layers. You then need to edit the high and low frequency layers manually to complete the process


