
Lightroom Develop Presets – The Dirty Dozen (grading presets)
Lightroom Presets are ‘One-Click Wonders’ and these presets are designed to create dramatic transformations.
These Presets are now available for Patrons to download from Patreon.com/markgaler
Lightroom Presets are ‘One-Click Wonders’ and enable a series of complex edits to be applied to an image with a single click of the mouse.
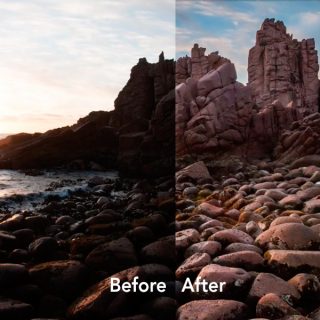
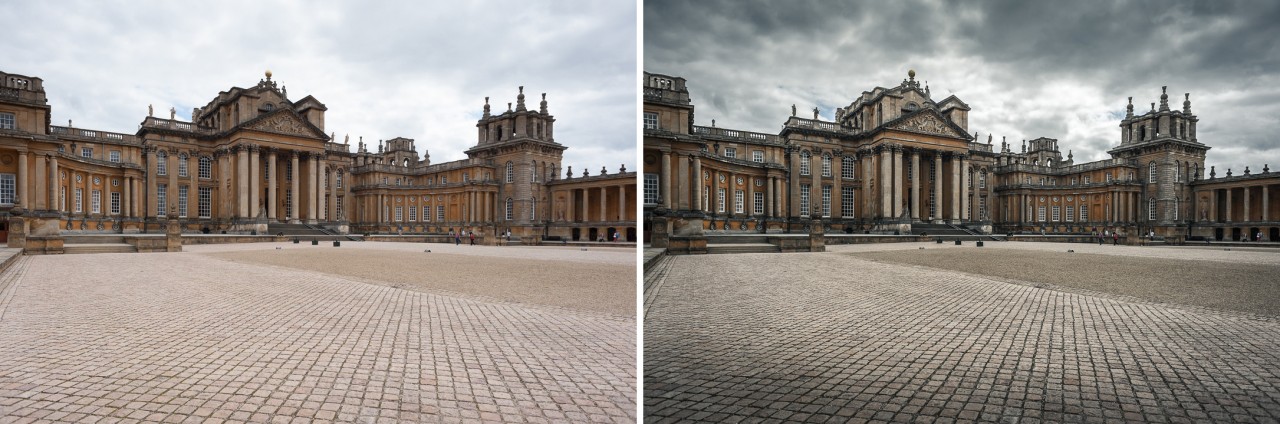
The first SIX Dramatic presets are variations of a stylised grading treatment I use often when I don’t want the SOOC* look. IMPORTANT – Click on the Zero preset at the bottom of the folder BEFORE you click a different preset.
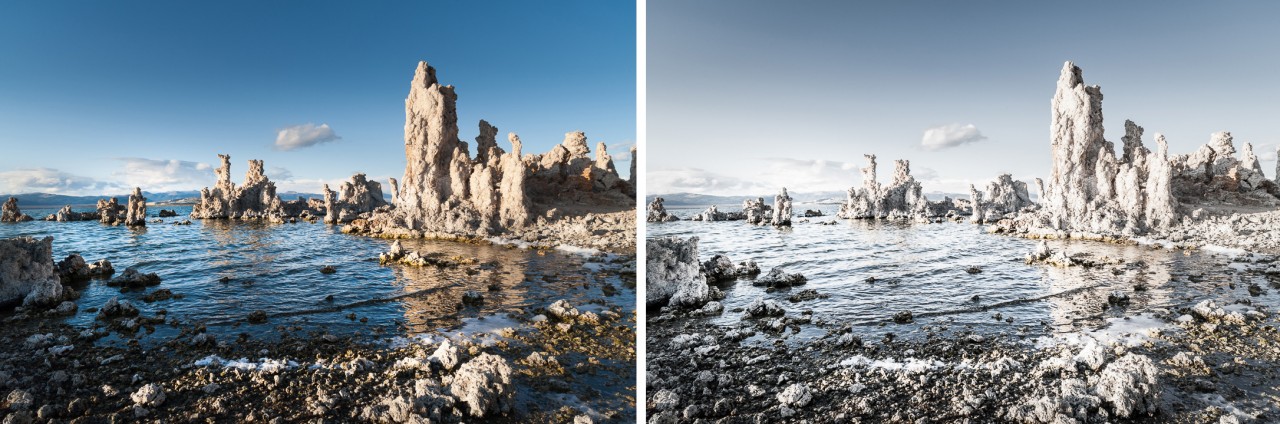
The Freeze Preset is good for creating a ‘High Key’ or ‘Bleach Bypass’ look, but you may need to adjust the Exposure slider to perfect the look.
The POP Preset is good to combat the rather ‘flat’ look of images first imported into Lightroom. If you like the extra life that this Preset applies to unedited images you may like to consider selecting it in the Import dialog.
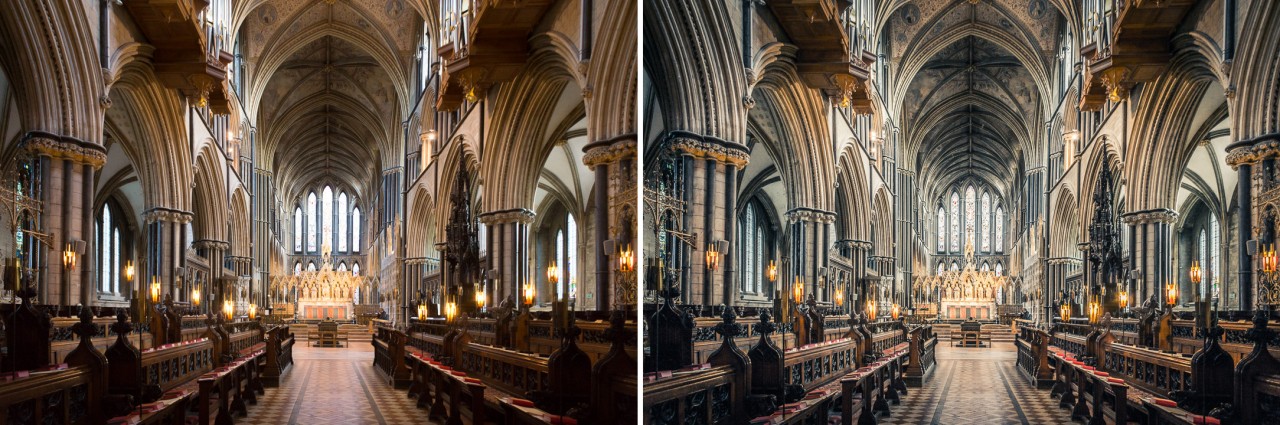
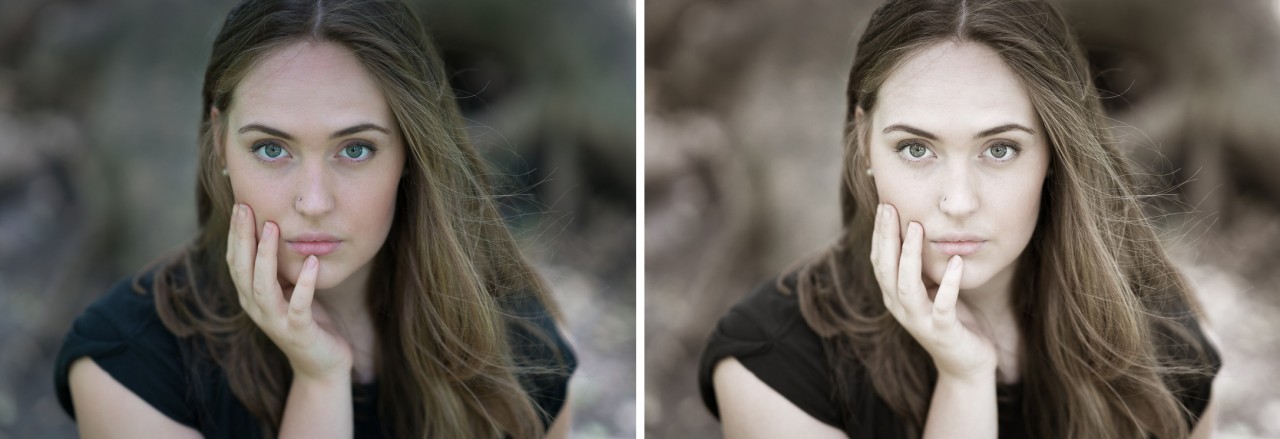
The Semi presets render images that are toned, but retain some of their original colour – I find this a more interesting look than a straight blue or sepia-toned image.
The first six Dramatic presets are not designed to be subtle edits. If you apply them to images with a raised ISO you will notice that noise may be problematic. The Presets utilise a small amount of ‘noise reduction’ in the Detail panel to keep noise in check on low ISO images.
IMPORTANT NOTE > Adobe Develop Presets changed file format from ‘.lrtemplate‘ to ‘.xmp‘ in mid 2018. If you import the older .lrtemplate presets (as directed by the movie below) they will now be converted to .xmp files and moved to the Settings folder in the Camera Raw folder. .xmp Develop Presets can now be used in Adobe Camera Raw and Lightroom CC as well as Lightroom Classic. It is easier, however, to load the older style .lrtemplate develop presets into Lightroom Classic as the folder structure is added to the Presets panel rather than just importing all new .xmp presets into one ‘User Presets‘ folder. The link below will follow this import workflow.
Testing a Preset
Select one of your images (it is better to start on an image that was correctly exposed so that you can clearly see the effect as the preset will not adjust a badly exposed image)
NOTE 1 > After clicking on the Preset you will probably need to fine-tune the effect by adjusting some of the sliders in the Basic panel.
NOTE 2 > Most of the presets make use of Graduated Filters (top and bottom), Post-Crop Vignetting (Effects panel) and Split Toning.
*Straight Out Of Camera
Related products

Everything you need to know in order to create dynamic timelapse movies
Lightroom Presets
Four Print Templates (A4 and US Letter) for Adobe Lightroom.
Lightroom CC (mobile) Editing Guide - Free Download - 277 Pages

Two instructional PDFs with links to supporting tutorial movies and free Lightroom Presets
Lightroom Presets
26 of my favourite Develop presets to fast-track image editing workflows in the Develop module of Lightroom.
post-production
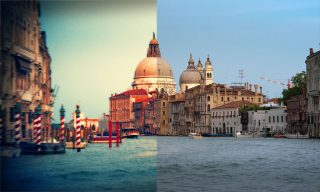
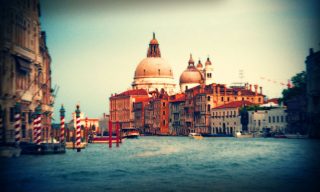
A Curves Preset that delivers the Orange and Teal grading effect.
E-Books
This eBook offers you learning supporting and contains links to over 54 tutorial movies to help you master the craft of taking creative and technically excellent photographs.
post-production
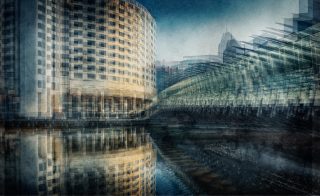
This action creates a triple-vision effect and works well when you apply it to urban structures and geometric designs.
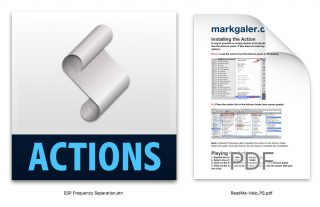
Photoshop Actions
Tired of pin-sharp, noise-free images from your 24 Megapixel Pro ILC, try this grunge effect to give your images the toy camera aesthetic – think WEIRD – think GRUNGE!

Photoshop Actions
A Photoshop tutorial that produces color grading and toning effects.
post-production
This Action splits a layer into high and low frequency layers. You then need to edit the high and low frequency layers manually to complete the process