Blog, Lightroom, Post-Production, Reviews
Top 10 Reasons I won’t be switching to Capture One Pro
Apr
Photographers usually choose their editing software to meet their individual editing needs – I am no exception. These are the reasons I choose to edit my Raw images using Adobe Lightroom and not Capture One Pro. This post is not intended as a comparison test between the Raw processing engines of Lightroom and Capture one. I believe they both do a fine job and I am NOT claiming that Lightroom is somehow better than Capture One. Lightroom is, however, more suitable for my own personal imaging workflows for a variety of reasons. If you are already a Capture One user this article is NOT intended to convince you to switch to Lightroom as you may not need the features that I currently find valuable. It does, however, highlight some of the workflow features that I find essential in my own imaging workflows.
1. A cost-effective editing solution
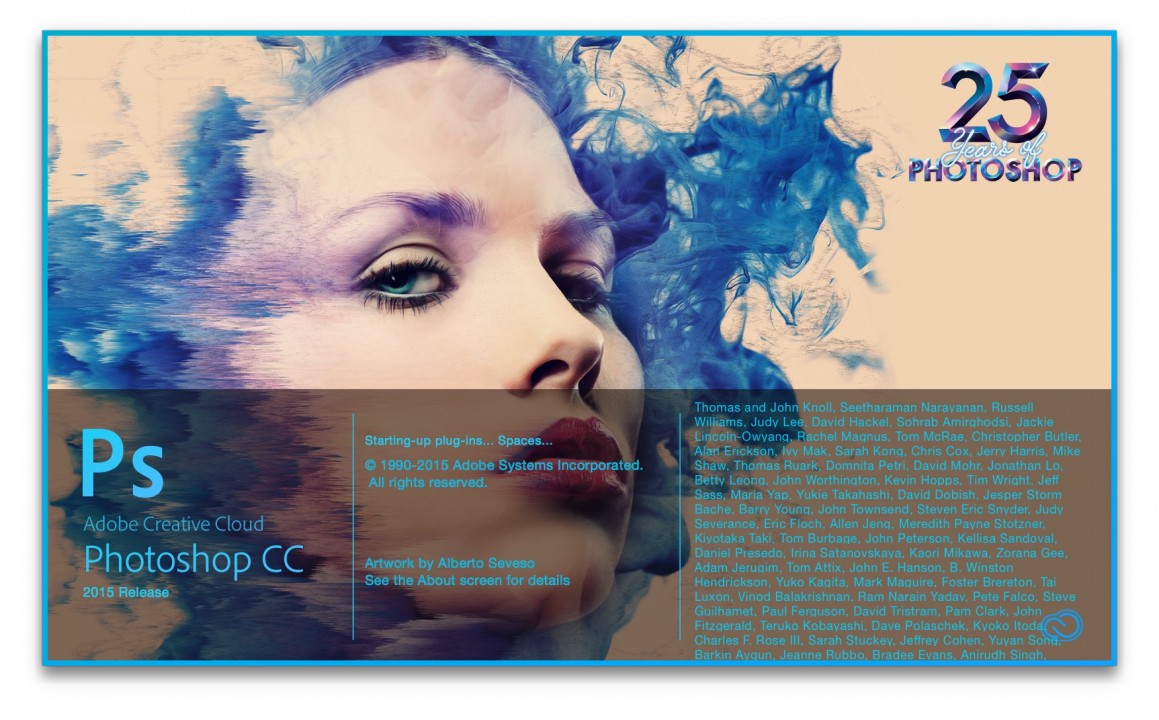
I need to use Photoshop CC in my editing workflows as some of my editing tasks are simply not possible in any Raw editing application. This includes using the ‘Frequency Separation’ technique for skin retouching and creating composite images (texture overlays, adding flare or particle layers, replacing backgrounds or skies or even just adding text to an image). If I am using Photoshop CC, I already have Lightroom CC bundled with my Creative Cloud subscription. Lightroom is therefore the most cost-effective software as I don’t have to make an additional purchase. Some photographers may choose to own two pieces of software that both perform a similar task and don’t mind the additional outlay. The investment in time required to learn a second piece of software does, however, have to be taken into account.
Note > The purchase price of Capture One Pro is still roughly equivalent to 32 months of the Adobe Creative Cloud Photography Plan membership. Each Capture One Pro update is equivalent to another year’s membership to the Creative Cloud Photography Plan. Capture One Pro is also available for subscription at a cost that is approximately 60% more expensive than Adobe’s creative Cloud. For a working Pro this is probably an insignificant amount of capital investment in their ‘tools of the trade’, but for a keen amateur on a budget this is possibly a factor to be taken into consideration. For many photographers who use Capture One and also need Photoshop CC, that would effectively mean that they are more than doubling their capital outlay in software to organise and edit their images.
2. Integration with Photoshop CC
The tight integration between Photoshop and Lightroom renders Lightroom the most time-efficient software to edit and organise my images in my opinion, e.g. if I open an image from Lightroom into Photoshop and then save my edit in Photoshop, the edited version is automatically reimported and catalogued alongside the original image in my Library. This feature is shared by Capture One but Photoshop CC does not share Capture One’s Raw processing engine. Adobe Camera Raw, used to process Raw files and also used as a filter in Photoshop CC, is the same as the processing engine in the Develop module of Lightroom and is kept in sync with software updates. Capture One users will still have to be similar with Adobe Camera Raw adjustment features if they want to use Adobe Camera Raw as a filter (arguably the most powerful feature that differentiates Photoshop CS6 and Photoshop CC). Lightroom users will immediately recognise that the feature set in Adobe Camera Raw is identical to the ones they use in Lightroom’s Develop module.
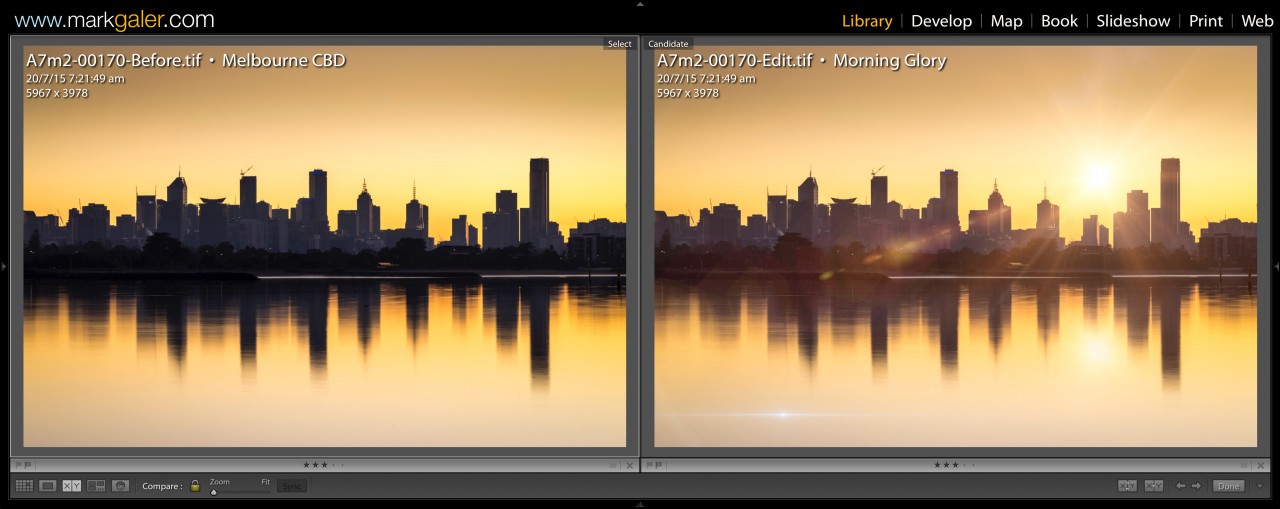
A movie that shows my workflow that utilises both Lightroom and Photoshop CC can be viewed in the movie above. At the 9 minute 45 second mark you will see how I open files into Photoshop CC as Smart Objects (preserving the raw data without ‘rasterising’ or ‘baking in’ the Raw edits).
Another movie example of these ‘smart’ workflows can be found: HERE
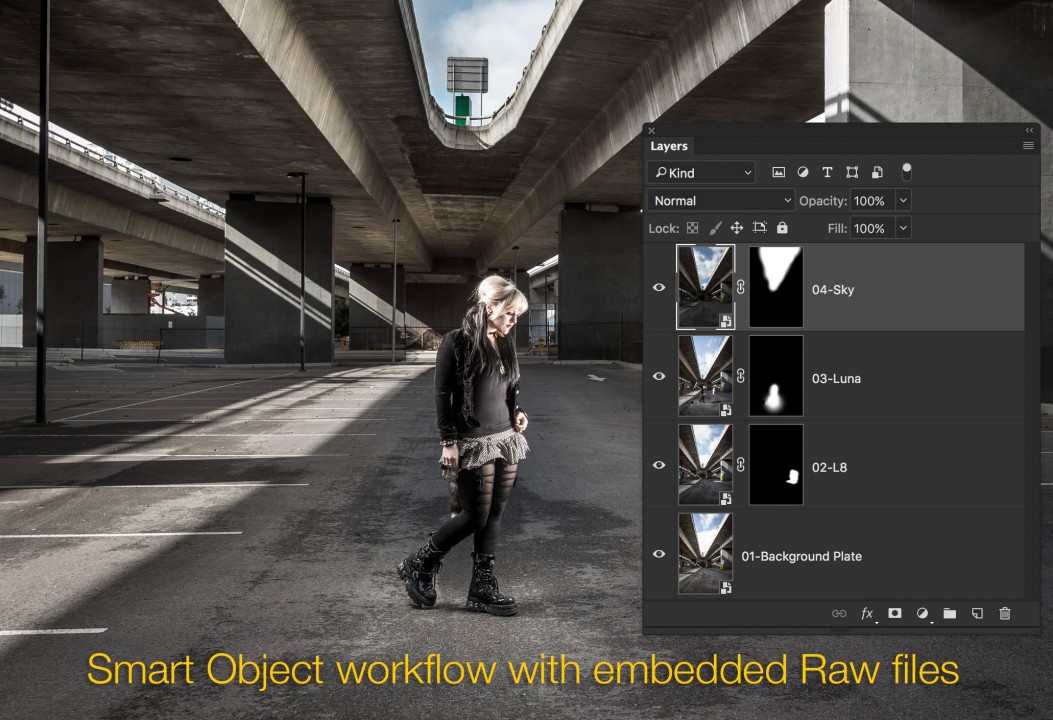
3. Non-Destructive Workflow
Using Photoshop and Lightroom together allows me to work completely non-destructively by opening my Raw images into Photoshop as Smart Objects. The Smart Object layer in Photoshop will then contain an embedded Raw file that I can re-edit at any time in Photoshop using Adobe Camera Raw. This ‘smart’ workflow almost completely removes the need to use old-school tone and colour editing tools such as Curves, Levels and Hue/Saturation adjustment layers while working in Photoshop. This ‘smart’ workflow is the ONLY completely non-destructive workflow that currently exists, as it does not require the photographer to ‘rastersise’ the Raw edits carried out in the Raw editing software prior to working in Photoshop CC. Any snapshots that were created in the Develop module of Lightroom are visible in the Snapshots panel of Adobe Camera Raw. The Raw engines that drive both Photoshop and Lightroom are kept in sync, so any adjustment made in Lightroom can be undone and reapplied in Adobe Camera Raw.
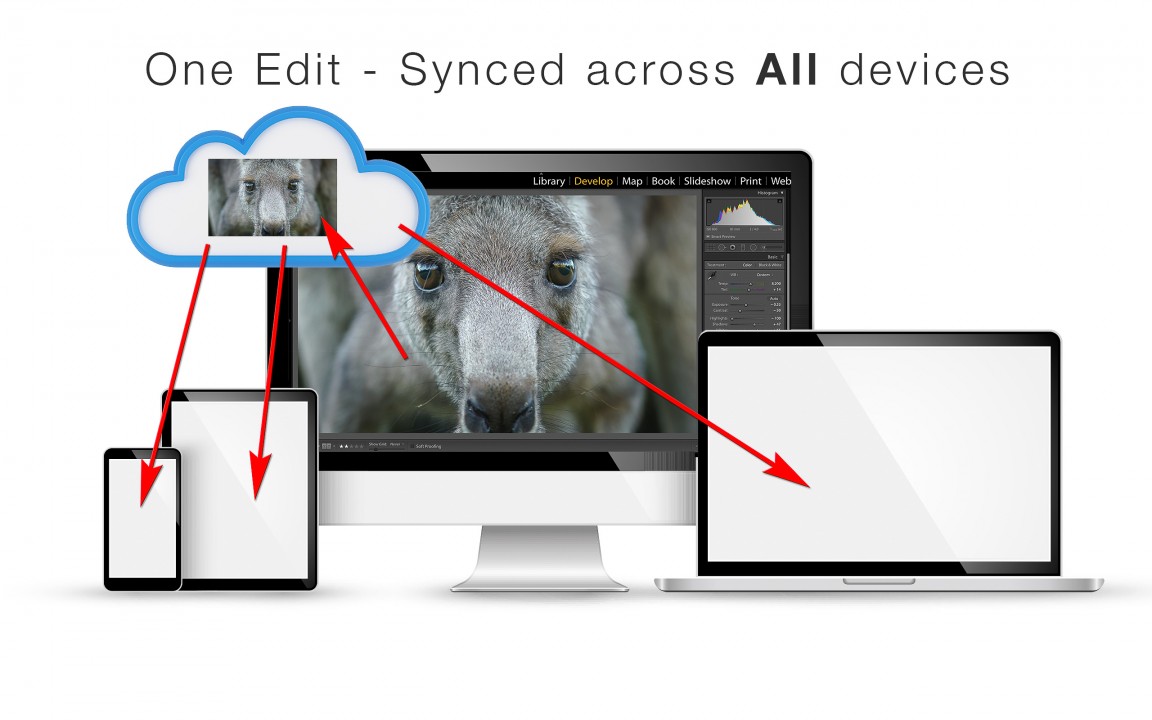
4. Synchronised Images and Edits across all Devices
Adobes Creative Cloud is currently driving a mobile imaging revolution. Raw images that are synchronised from the Lightroom desktop app, can now be edited on any mobile device running Lightroom mobile or even via a web browser on mobile devices or computers not running Lightroom. These edits are then synchronised across all of the users devices so that images and their edits no longer become stranded on technology islands. Likewise images captured and edited on the photographer’s smart phone find their way back to Lightroom on their desktop computer without having to engage in time-consuming export and import workflows.
5. Confidence in on-going support
I am confident in Adobe’s continued and ongoing support for the time that I have invested in building my photo archive. Adobe has supported photographers from the very beginning of digital photography (Photoshop preceded the first DSLR by a year) and I have absolute confidence they are committed to the long haul. I do not fear they will ‘pull the plug’ if profits slide during a lean year. Adobe rode out the GFC and have continued developing imaging software, even when other companies such as Apple decided to abandon their Pro photographer customer base (Apple’s Aperture). Adobe’s decision to support all cameras, rather than just certain brands and models, also provides me with confidence that I am free to switch camera manufacturers and lenses without the need to rethink the software I choose to edit these images. Lightroom is cross-platform software (as is Capture One Pro) so any Catalog I have created on my Mac can be opened on a PC.
Note > DxO currently claim to support over 250 cameras shooting Raw, while Capture One Pro claim to support over 400. Lightroom currently supports over 750 cameras.
6. Extended Workflows + Plugins, Presets and Companion Software
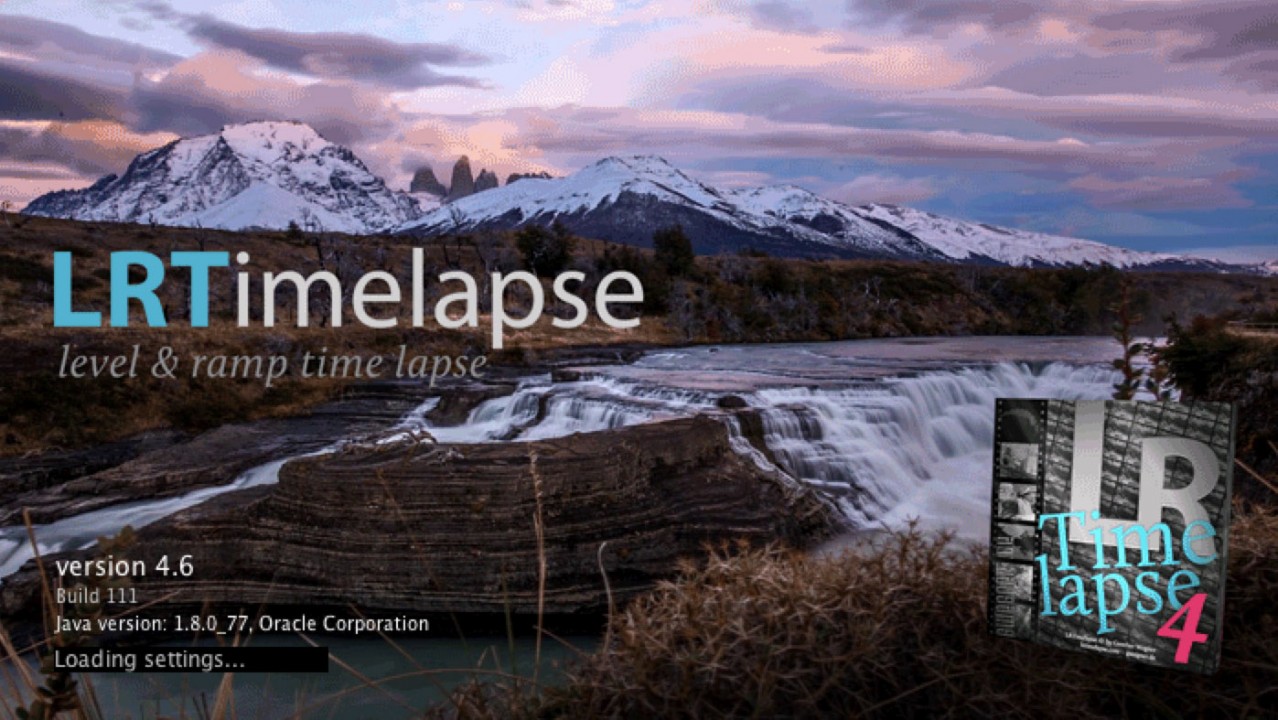
Lightroom is more than just a Raw converter/image editor and Library for my images. I also use the Book, Map, Slideshow, Print and Web modules in my imaging workflows. Adobe’s decision to cover ALL aspects of the imaging workflow allows me to minimise the need to purchase additional software or services. It is no accident of fortune that keeps Adobe as the number one editing software of choice by most commercial photographers. Adobe’s commitment to building open-architecture software enables external software programmers to build plug-ins that can extend the capabilities of both Photoshop CC and Lightroom and this will ensure that the software never ‘drags it heals’ over an extended period of time or fails to meet the needs of photographers who have specialised workflows – someone will have undoubtedly have built a plugin that enables an activity that is not currently supported by the current release. Adobe supports this activity by distributing SDKs (Software Developer Kits) to ensure that ongoing development is happening both internally and externally. I personally create ‘Holy-Grail’ (dawn to dusk) Time Lapse sequences and use the software LRTimelapse that works in unison with Lightroom to seamlessly ramp exposure and white balance over the duration of the sequence.

7. Image Quality
Many photographers claim that Capture One is a superior Raw editor. Although I have found the controls and user interface to be different I don’t think their is a huge difference in what can be achieved – using either software. To claim absolute superiority in all areas, I believe, would be slightly foolish, as each software offers both strengths and weaknesses in these areas. Lightroom has very sophisticated ‘demosaic’ processing, providing files that are rich in fine detail with excellent control and suppression of non-image data (noise).
The visual starting point that each company chooses for the Raw editing journey are, however, very different and this has led some to believe, in error, that this also shows what is possible. Adobe’s decision to use a starting profile that is relatively flat (Adobe Standard), instead of camera profile, can be quickly overridden (in just a mater of seconds) for photographers who want to start editing with images that start out life with more ‘pop’ (vibrance, sharpness and contrast).
One of the areas of editing in Lightroom that does enable the photographer to leverage additional Image Quality is in the area of HDR and Panoramic stitching. Both of these editing workflows that Lightroom supports, result in a DNG final image rather than a rasterised JPEG or TIFF file. Lightroom also supports 32 Bit TIFF and DNG files.
An UPDATE to the original post appears below…
I had previously posted some observations about the differences between Capture One and Lightroom Raw processing (now removed) – these observations led to some slightly heated discussions on Social media from people who feel the need to defend Capture One – which is slightly distracting from the main purpose of this blog post. I’ll state it again ‘I DON’T think Lightroom is a superior processing engine to Capture One‘. I have been accused of being ‘Wrong’ on some of the features that I listed – but this usually came down to splitting hairs about some of the features that are similar but not the same. I decided to remove all points including the features that do not appear in both Lightroom and Capture One.
If you want to review somebody else’s opinion on this matter you can download a 10-page in-depth comparison test between these two programs from this link. The test was published in September 2016 and was written by Martin Evening. In his conclusion he states:
“Capture One’s philosophy is to produce a more optimised look that doesn’t necessarily require further editing. This may have led to the perception that Capture One is sharper and punchier, but in reality neither program is inherently better than the other when it comes to actually working on your images and adjusting the settings to suit individual tastes.”
Martin Evening
8. Creative Cloud Services
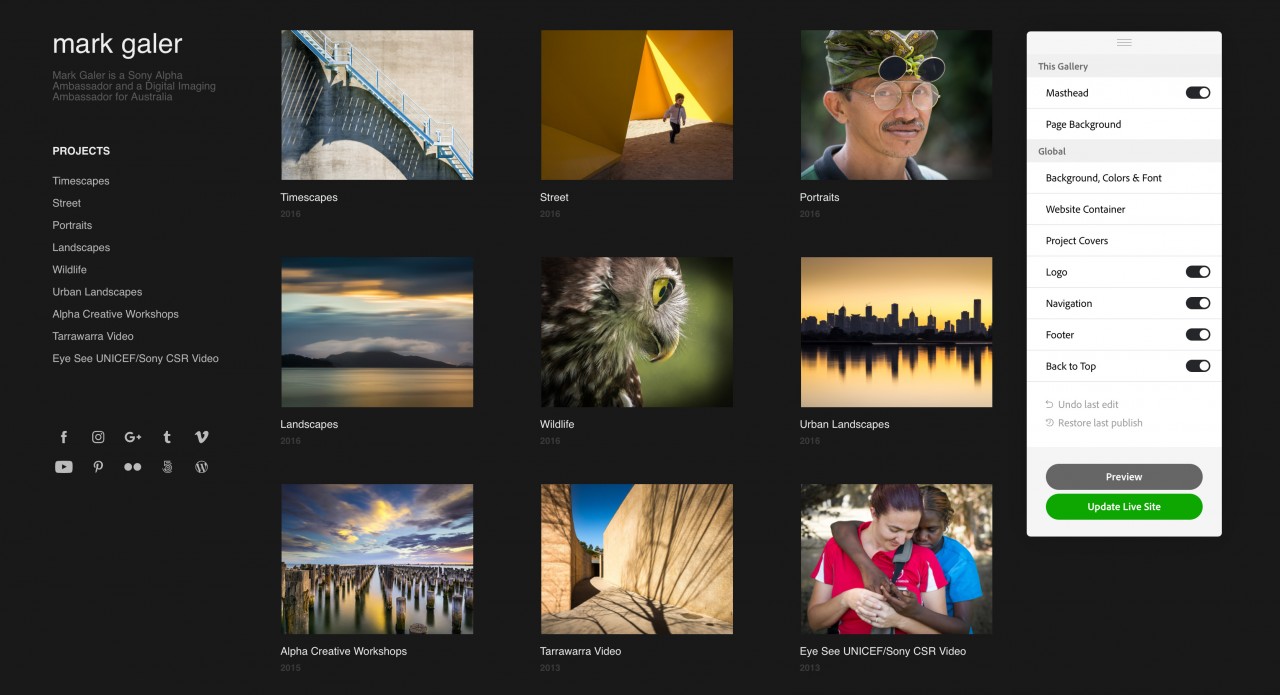
My Creative Cloud account is supported by a broad range of Cloud services that I have integrated into my commercial workflows. I have used Adobe Portfolio to build a website that showcases my photographic work, I use Béhance to engage with a Creative Community and I use Adobe’s Creative Cloud Files to ensure my most important files are available on all my devices and allow me to share large files with other creatives with ultra-fast download speeds. These Creative Cloud services can immediately access the images in my synchronised collections. The synchronised collections can even by made into public galleries with a single click – giving immediate access to my images for clients, family or friends.
9. Convenient publishing to Social Media and Adobe Stock
I use Lightroom’s Publishing panel in the library module to effortlessly push images to my Social Media channels. Lightroom ships with Flickr and Facebook plug-ins but I have also added 500px and Instagram to these publishing services. I can also read and reply to any comments that these published images may generate from inside the Comments panel in Lightroom’s Library module. I am also currently a contributor to Adobe Stock (Fotolia) and it is an effortless procedure to push images to Adobe Stock (in the Publish Panel). The keywords and title I have entered in the Metadata panel carry over to Adobe Stock.
10. Full DNG support
DNG or Digital negative is Adobe’s Raw file format. I have spent year’s converting proprietary file formats such a CR2, NEF and ARW files into the DNG file format. The lossless compression does not impact on quality but allows me to push metadata changes back to the actual file rather than using a sidecar file. The DNG file format usually offers a saving on physical size (as measured in Megabytes not Megapixels) so I can effectively store many more Raw files on my RAID drives. Although Capture One can open a DNG file, Phase One has decided not offer full support for this file format – this would effectively mean that my files from the last 10 years would be problematic to edit if I made a switch to Capture One.
If you want to know more about the advantages of using the DNG file format click HERE
Conclusion
There are, of course, may positive features to Capture One Pro workflows, but there are currently no distinct advantages that would lead me to make the switch. Capture One’s problematic handling of DNG files, Lightroom’s tight integration with Photoshop CC and Adobe’s Creative Cloud services (including Lightroom Mobile) will see me stay with Adobe’s software for the foreseeable future. I am sure both companies will continue to improve and develop their raw processing engines, but as a working photographer I expect my primary editing software to embrace a broad range of tasks other than optimising the visual appearance of the image.
Mark Galer is a working professional photographer, experienced educator and has authored many photography books for the International publisher Focal Press.