Blog, Lightroom, Post-Production
FREE Lightroom Develop Presets
Jan
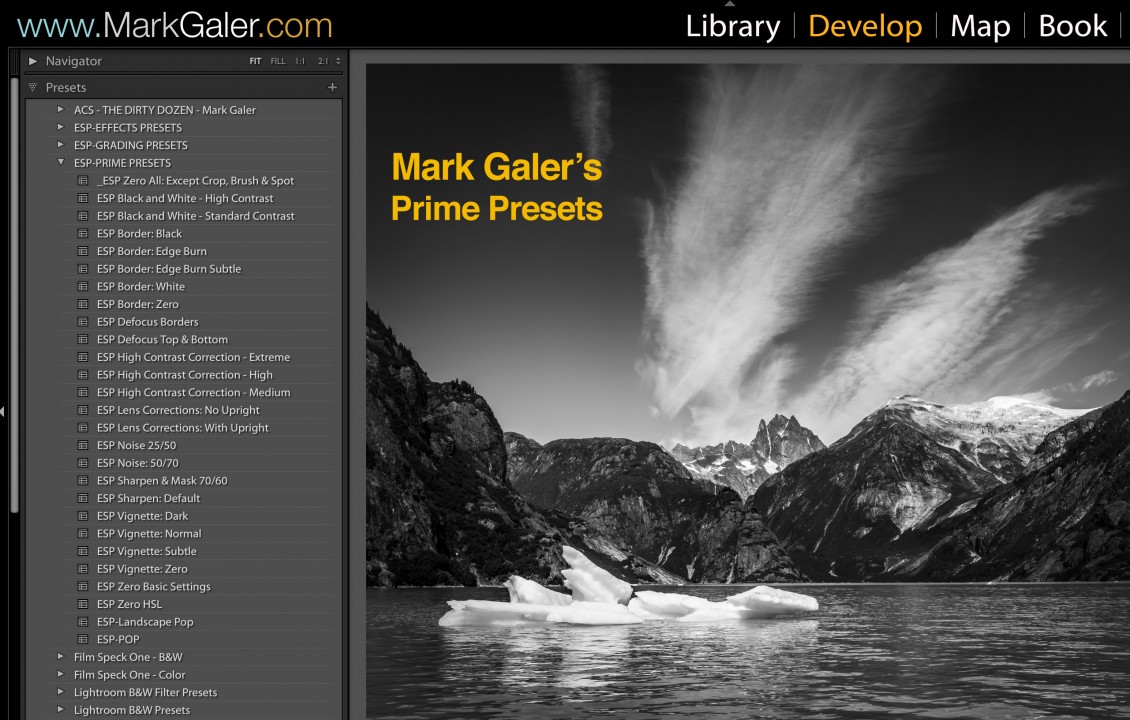
Here are my 24 Lightroom ‘Prime‘ Presets (for you to download and install completely FREE) that I use most often when i want to fast-track my editing workflow – just Subscribe and click on Add To Cart at the top of the page and then proceed to Checkout. Lightroom Presets are ‘One-Click Wonders’ and enable a series of complex edits to be applied to an image with a single click of the mouse. It is possible to apply more than one Preset to build up a desired effect. It is recommended that you optimise the Exposure of the image before applying the Preset. It also recommend that after applying the Preset you optimise both the Whites (white clipping) and Blacks (black clipping) in the Basic Panel of the Develop Module.
The Presets include:
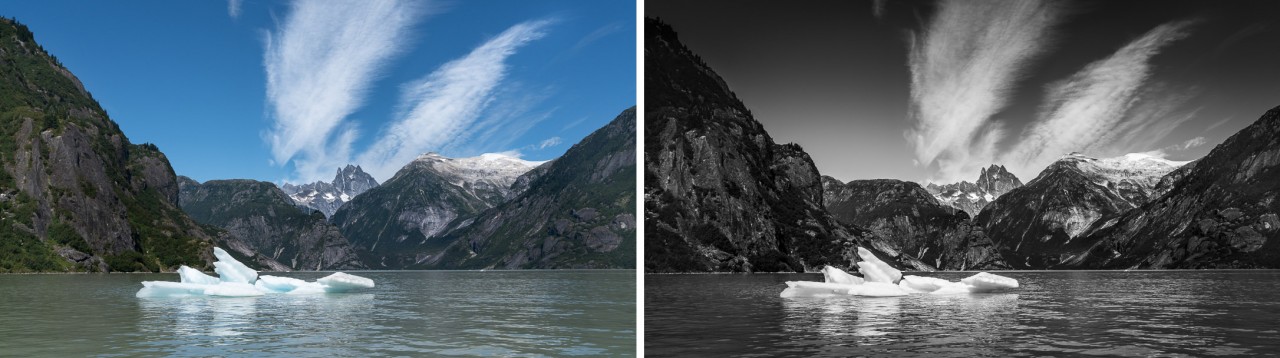
- 2 x Black and White Conversions (Standard and High Contrast variations) – apply AFTER the Landscape or ESP Pop if you want to retain the drama of these Presets
- 4 x Border presets – These apply a white or black border around your image or burn the edge darker.
- 2 x Defocus Presets for creating a simulated shallow depth-of-field look (you may need to refine the position of the Graduated Filters to perfect the effect).
- 3 x High Contrast Correction presets – for creating a better starting point when editing images that were captured when the subject brightness range (contrast) was high or extreme.
- 2 x Lens Corrections Presets
- 2 x Noise Reduction Presets
- 2 x Sharpening Presets
- 4 x Vignetting Presets (these utilise the Radial Filter rather than Post-Cropping Vignette controls) – this enables you to use them in conjunction with the border presets.
- 1 x Landscape Pop Preset – creates a better starting point for editing Landscape images (this includes two graduated filters already set up – you will however, need to fine-tune their position and strength).
- 1 X ESP POP Preset that creates a better starting point for editing images where you would prefer a starting point that is a lot less ‘flat’.
- 3 x Zero Presets. I have also included three different ‘Zero’ Presets so that you don’t have to completely reset the image if you decide to go back to a certain stage of your editing workflow.

Installing Lightroom Presets
- Download this Zipped file
- Unzip the file.
- Copy the folder of Presets into the ‘Develop Presets’ folder in Lightroom (you can find this folder by opening Lightroom’s Preferences and then clicking on the ‘Show Lightroom Presets Folder’ button in the Presets Tab.
- Restart Lightroom after installing the Presets. You will then find the Presets in the Presets panel in the Develop Module.
Select one of your images (it is better to start on an image that was correctly exposed so that you can clearly see the effect of the preset).
NOTE > After clicking on the Preset you will probably need to fine-tune the effect by adjusting some of the sliders in the Basic panel.
One of the creative topics of my one-on-one training sessions and workshops is how to set up lightroom for fast and efficient workflows.