Blog
Calibration Blues: i1 Display 2 on Mac OSX Lion
Mar

Embarrassing confession time, I’ve been meaning to calibrate my screens ever since I upgraded to Mac OSX Lion, finally got around to it—and not surprisingly the process wasn’t as smooth as it normally is.
If you’re new to screen calibration, or are wondering why one would want to calibrate their screens in the first place(!) we should go over the basics. Jeremy Daalder is our go to guy for anything to do with producing color-correct outcomes and he has some excellent free articles to learn all about this black art.
In a nutshell, we calibrate our screens/monitors to ensure that the device is able to display images using the most accurate colours, brightness, and contrast. The device (it could be a screen or a printer) is calibrated against some absolute benchmark for that device’s behaviour—typically using some additional piece of equipment. Have a read of Jeremy’s exhaustive article on calibration and profiling to understand this inside out.
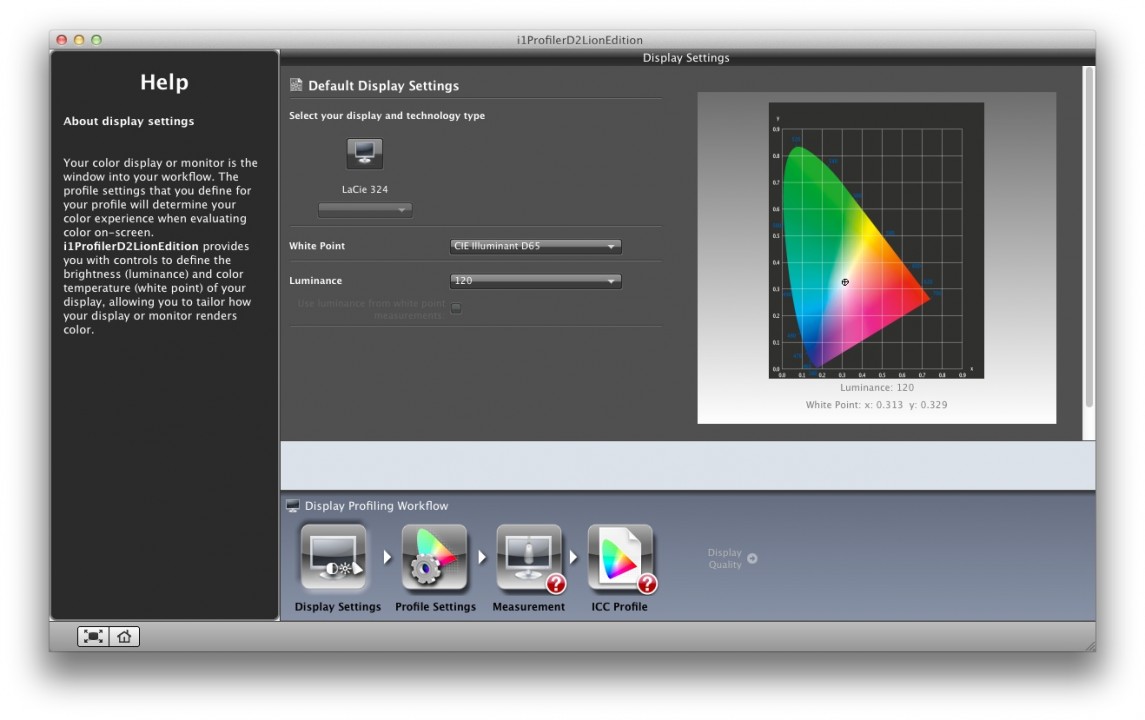
So, in my case I was using a Gretag MacBeth EyeOne Display2 calibration device, to calibrate my MacBook Pro & Cinema Display running Mac OSX Lion.
To make life interesting, a number of things had happened since I last looked under this rock.
- A while back Gretag Macbeth was acquired by Xrite.
- The EyeOne Display2 has been superseded by the i1 Display Pro
- The latest Mac OSX release no longer supports the driver software that came with the original EyeOne device
This was a classic face-palm realisation for me. Not helped by alarmed users writing articles like this one, basically declaring that the old device was now an unusable relic!! Grr-aargh! :-O
However, a solution exists!!
Fortunately, the good folks at Xrite have been quick to respond to the plight of users in the same predicament as myself, and have released a software update.
Download it for FREE from the Xrite website.
But the trickiness does not end with the download. I had to calibrate 3 different setups:
- 27″ iMac: Install successful, no problem! 🙂
- Mac-mini Connected to a 55″ LED display: Install successful, no problem! 🙂
- Thunderbolt Cinema Display and a MacBook Pro: Major bummer! 🙁
Trying to calibrate the MacBook with the Cinema display connected was a non-starter—the software could not detect the EyeOne device. After much trial and error and USB port swapping we finally figured out the correct sequence of events:
- Connect the EyeOne device to the Macbook and calibrate Macbook by itself first
- Close the calibration software and disconnect the EyeOne device
- Restart
- Connect Cinema Display to Macbook
- Connect EyeOne device to the Cinema Display
- Initiate calibration process
Things went smoothly from there. Happy Days.

- Download FREE software update from the Xrite website
- Special Steps for multiple screen setups:
- Connect the EyeOne device to the Macbook and calibrate Macbook by itself first
- Close the calibration software and disconnect the EyeOne device
- Restart
- Connect Cinema Display to Macbook
- Connect EyeOne device to the Cinema Display
- Initiate calibration process
- Done!
There you have it, problem solved.
Here’s a vintage video of the original EyeOne Display2 in action.