Reviews
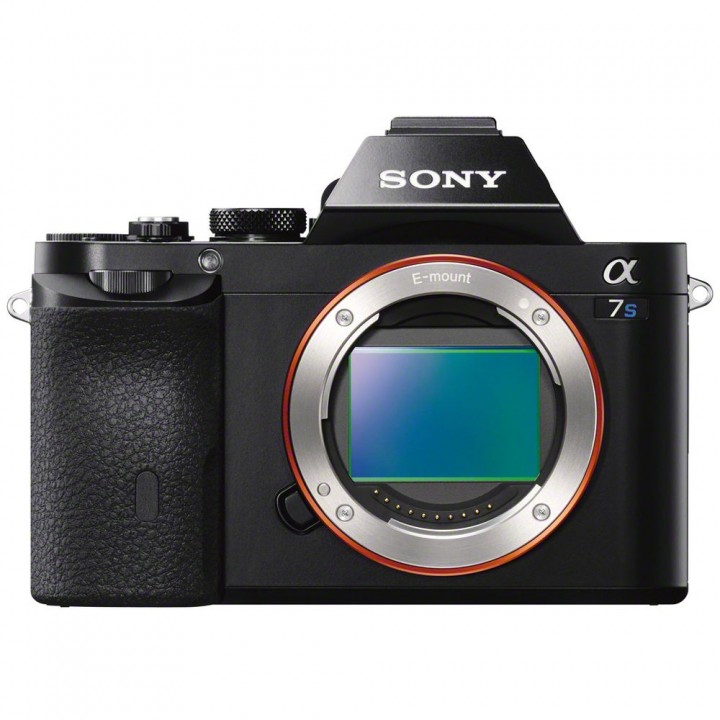
The Sony Alpha A7S
Jul
The Sony Alpha A7S: Out on location in the Whitsunday Islands
The A7S has been heralded as the new ‘low-light king’ of cameras – a Nikon D700 on steroids. The ‘S’ suffix is for ‘Sensitivity’, and with much larger sensor sites than those found on the full-frame image sensors of the A7 or A7R cameras, the advantage of the A7S sensor design is the potential for lower noise at higher ISO settings and improved dynamic range.
It was released at the 2014 NAB show (National Association of Broadcasters) in the USA as Sony perceived the camera’s strengths would appeal primarily to cinematographers – because of the camera’s low light and 4K video capability using a full-frame sensor.
It has, however, attracted significant interest from stills photographers looking for better low-light performance from their cameras. With an upper limit of ISO 409,600, many photographers have seen the opportunity to raise ability to shoot in very low-light situations.
Initial claims of a two or three stop advantage has been hugely exciting news for many photographers who are pushing the performance limitations of current full-frame sensors from Nikon, Canon and Sony.
In this environment I was lucky enough to be given the opportunity by Sony Australia to take an early model of the A7S (Version 1.0 of the firmware was installed the day I received the camera) to Hamilton Island, which is one of the Whitsunday Islands that are nestled just behind the Great Barrier Reef.
Although the astronomically high ISO setting of 409,600 has a certain ‘wow’ factor, I was much more interested in testing the cameras ISO range between 3,200 and 12,800. My own area of photography has little call for photographing black cats in coal cellars, but I often shoot in the ‘twilight zone’ of ambient lighting conditions.
I was curious to see how clean the files would be at these more typical working ISOs. This is the ISO range where a tripod is no longer optional for photographers who need to acquire clean results from files that will need to go to high quality press (books, magazines and glossy brochures).
This review of the A7S, as you will see, will be atypical (I will not be photographing by candle light) as the primary focus will be landscape and architecture. As a Sony Alpha Ambassador that already owns an A7 (and a former D700 owner), these are my initial impressions after spending a week with the camera. The review will skip over the features common to the siblings of the A7S (A7 and A7R), as most readers will already appreciate why these full-frame mirrorless cameras occupy a unique position in the camera market at this current moment in time.
Anticipated advantages:
Prior to taking delivery of the A7S camera I perceived that there would be two major advantages to using an A7S over an A7 or A7R. These were; less noise at high ISO settings and access to a video format that is less compressed than Sony’s standard AVCHD 28M options. The standard AVCHD video format, available on all Sony’s Alpha cameras prior to the A7 is OK for stills photographers wanting to capture video to supplement their stills shooting, but it’s comparatively high compression rates (when compared to professional video cameras) restricts the amount of grading that can be performed in post-production before artifacts and banding rear their ugly head. Try adding a graduated filter or vignette in post-production and watch the continuous tone of the sky step and band in the processed AVCHD video.
Anticipated disadvantages:
I have been using 24 megapixel sensors for the last 3 years. I am, however, accustomed to using 12 Megapixels digital cameras (a Nikon D700 and Sony A700 cameras dating back to 2008). 12 Megapixels used to be a respectable resolution for a digital camera, but the lower resolution did give less freedom to crop aggressively when the destination of the image was print. My own commercial workflows occasionally require files of 16-18 Megapixels to cover double-page spreads in books or magazines. I have now enjoyed the creative freedom to crop, and still retain enough pixels, since using the 24 Megapixel sensors in my Sony A7 and A99 cameras. If the A7S were my only digital camera, however, it would still provide me with enough megapixels 95% of the time (most of my output is to single pages, prints that are A3 or smaller and to screen). To put the resolution capability of the A7S into perspective, the files from the A7S are 4,240 x 2832 (about 70% of the width and height of a 24 megapixel sensor). The resolution of the A7S still has pixels to spare for output to 4K displays.
Initial Impressions
Straight out of the box, the first thing I noticed was that the lens mount on the A7S is a tighter fit than on my A7 – maybe there has been some work done in this area to improve machine tolerances.
As an owner of an A7, setting up the camera was a ‘no-brainer’. The menu settings of the A7S are pretty much the same as can be found on the A7 and A7R cameras, allowing the camera to be quickly configured for my personal preferences. The only differences in the A7S menus that I noticed, were the options to use a Silent Shutter (which is not just quieter than the A7 and A7R shutters, but completely silent) and the XAVC S File Format, Marker Display settings and Picture Profile settings for Movies. After trying to select the A7S’s superior XAVC S video format the first surprise raised its head. The XAVC S video format cannot be recorded to standard SDHC cards. This required a last minute shopping trip to pick up a new SDXC memory card from my local camera store before the pack.
The XAVC S video format allows the user to shoot video that is half as compressed as the AVCHD format (50 Megabits per second instead of 28). This, in turn, allows more aggressive grading in post-production without artifacts appearing. The Picture Profiles found on the A7S, in conjunction with the XAVC S format allows the user to record a much flatter file (so there is less risk of clipping the shadows or highlights). A quick look at the options in the Picture Profiles told me how little I know about professional video capture (options such as setting the ‘Point’ and ‘Slope’ in the ‘Knee’ adjustment feature to customize a profile is language stills photographers (including me) have yet to familiarize themselves with. For now, I just chose to find a preset that appeared to lower the contrast.
The A7S Adventure Begins
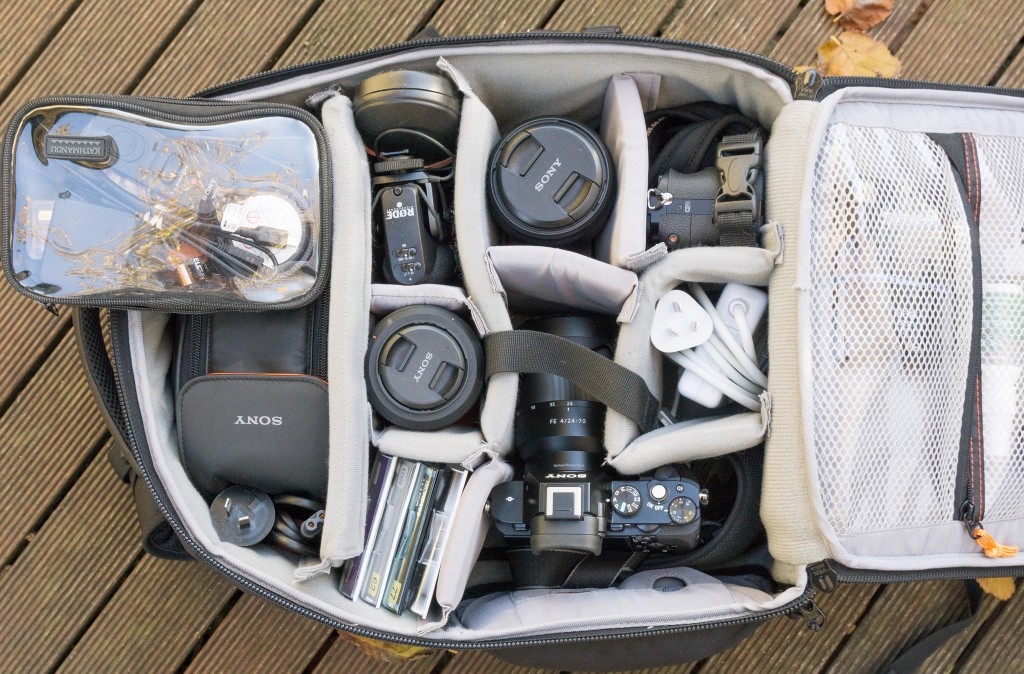
Packing to travel on an airline that has a 7 KG carry-on limit is relatively easy with an A7 system. Five Sony E-Mount lenses, two bodies (A7 and A7S) plus accessories (chargers, remote release, ND filters etc.) in a lightweight backpack weighs in under Virgin’s 7 KG limit. Many photographers will, however, easily exceed the limit with a DSLR and a couple of heavy f/2.8 zooms. Virgin were weighing carry-on luggage on the return flight and making customers put excess weight into their checked luggage (the last time I did this at KL airport was the last time I saw the 3 KGs I moved to my checked baggage). This is, of course, one of the major advantages of an A7/A7R camera when compared to conventional full-frame DSLRs.
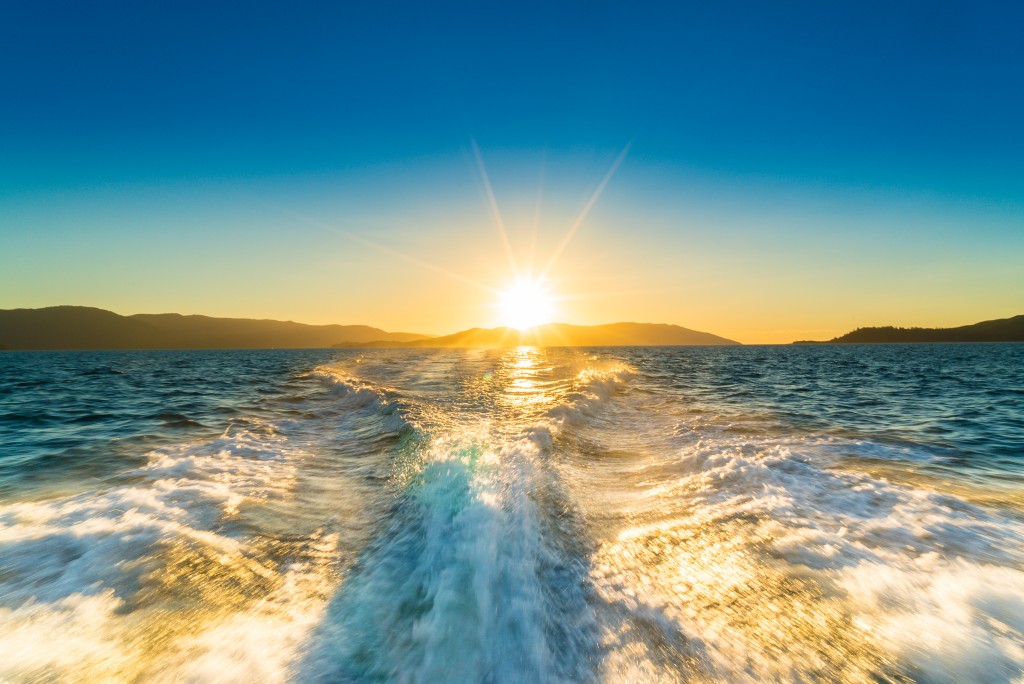
Getting to Hamilton Island quickly became an adventure. Power outages at Sydney Airport meant that flights were late arriving at Melbourne Airport. High Winds at Melbourne Airport meant that flights were delayed taking off. Late arrival at Brisbane Airport led to a missed connecting flight to Hamilton Island. After convincing the airline that an 11-hour bus trip to Mackay was not an option, Virgin put me on a flight to Proserpine (near, but not on, the Island). A taxi to Shute Harbour and then a ferry to Hamilton Island saw me landing just after sunset. The beauty of an A7 camera is that it is never an effort to grab the camera and take some shots that keep a record of the adventure.
Smooth Tones at High ISO
Initial reviews by some reputable cinematographers/videographers have made some amazing claims that the A7S can record clean files at ISO 12,800. Although this may be ‘mostly’ true for movies (downsampling from 12 megapixels to 1080p together with the slight softening effect of a movie format significantly reduces apparent noise), a stills photographer would experience a slightly different picture.
The A7S definitely sets new bench marks for high ISO and dynamic range performance and although it is outperforming all of its peers at ISO 6,400, I would not go as far as to claim the files were ‘clean’. In reality (for stills shooting) at ISO 6,400 and 12,800 the A7S is creating files where the noise is crisp, but fine enough to reveal amazing subject detail.
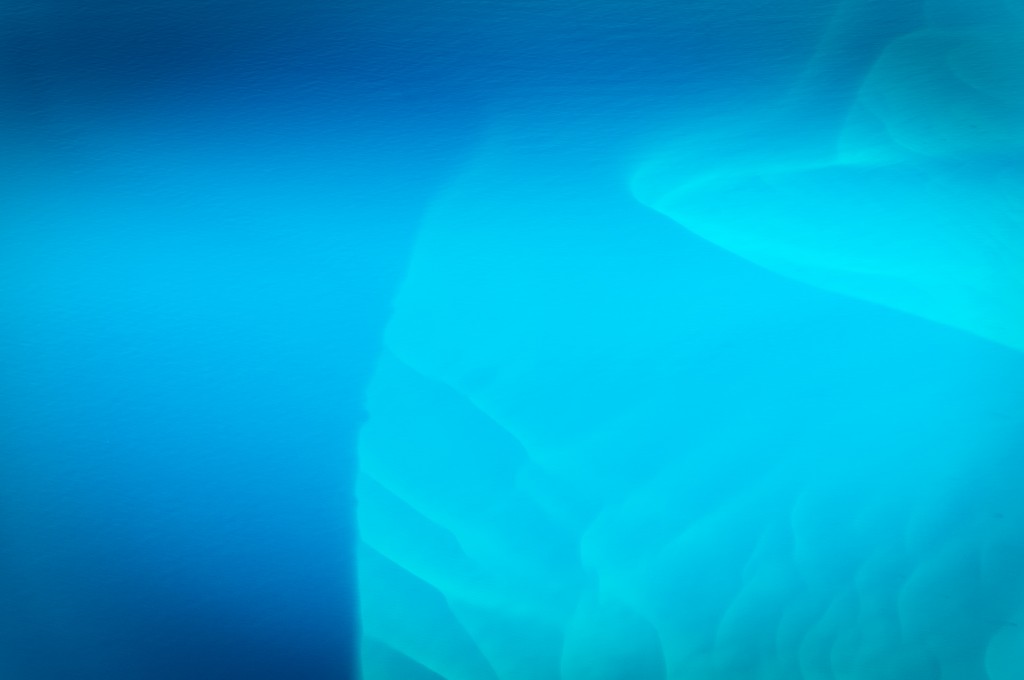
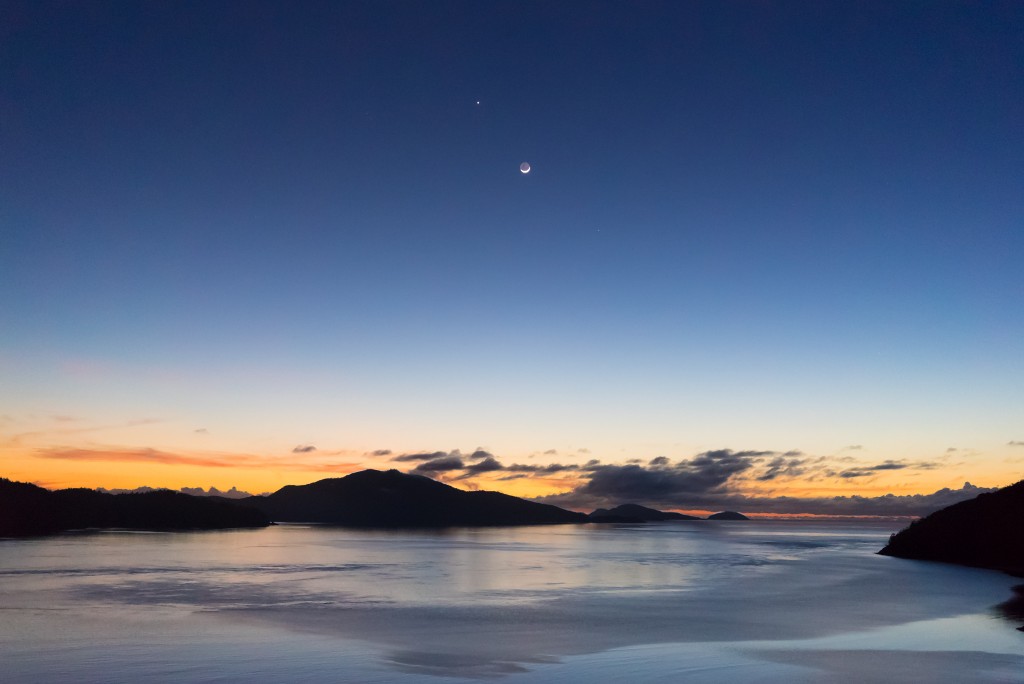
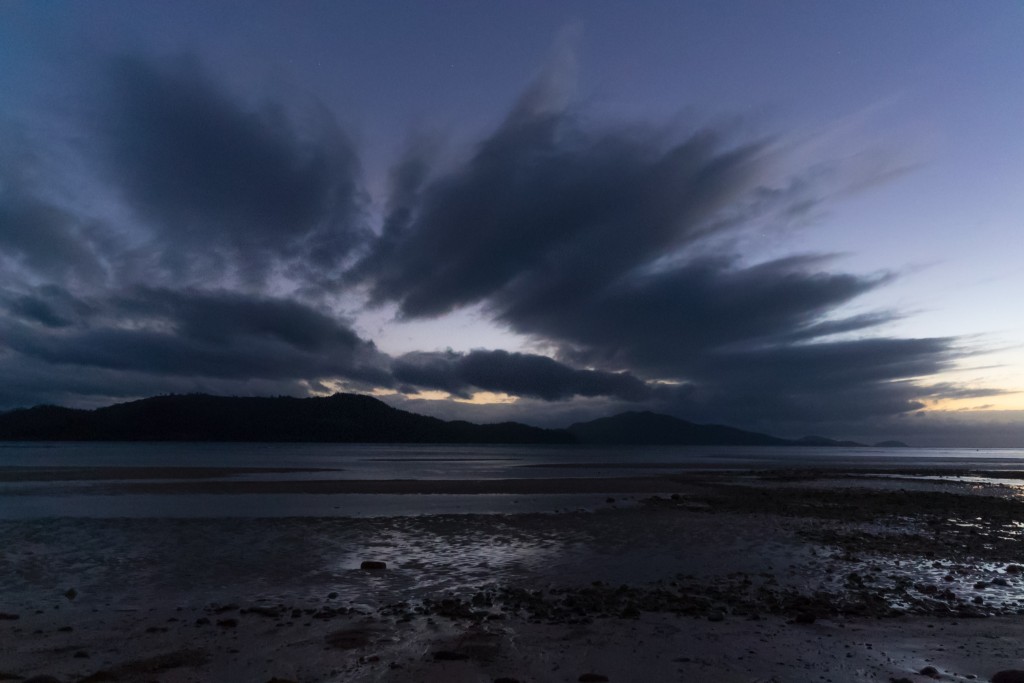
For large prints, however, the photographer may still want to use noise reduction, either in camera or in post-production, if smooth continuous tones are more of a priority than fine detail. If fine detail and smooth tones are both priorities my recommendation would be to use a tripod and photograph things that are not moving with Sony’s A7R! For a documentary or sports photographer (where flash is not an option) or a photographer who is allergic to tripods, the A7S becomes an extremely interesting camera. The ‘Moon and Venus’ illustration that appears above is a cruel test for high ISO, due to the smooth continuous tone of the twilight sky and the +1-stop exposure adjustment.
The amazing thing about this shooting experience for a landscape photographer is that it can be captured hand-held, and yet still produce a file that is clean enough for a full-page image in a magazine. The A7S shooting experience is also enriched by the fact that the EVF in ultra low-light conditions is amazingly clean when compared to the A7 or A7R cameras. You can clearly frame a scene that is hard to make out with your own eyes, and the icing on the cake is that it can usually focus on a horizon line that you cannot see with your naked eye.
Download 2 A7S Raw files A7S-Raw-1
Twilight Architecture
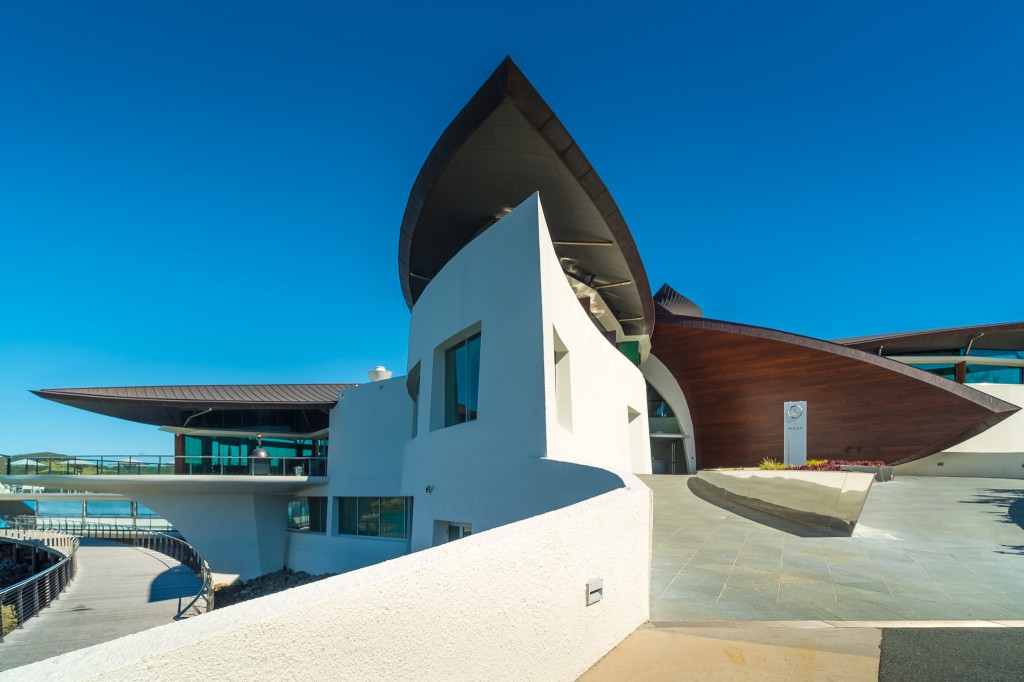
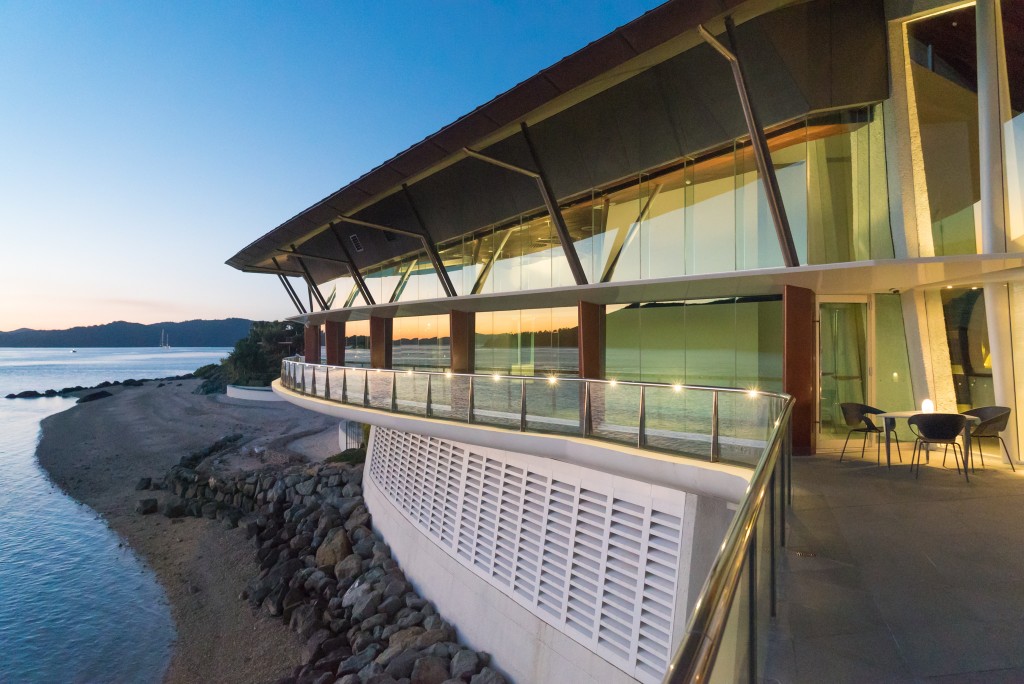
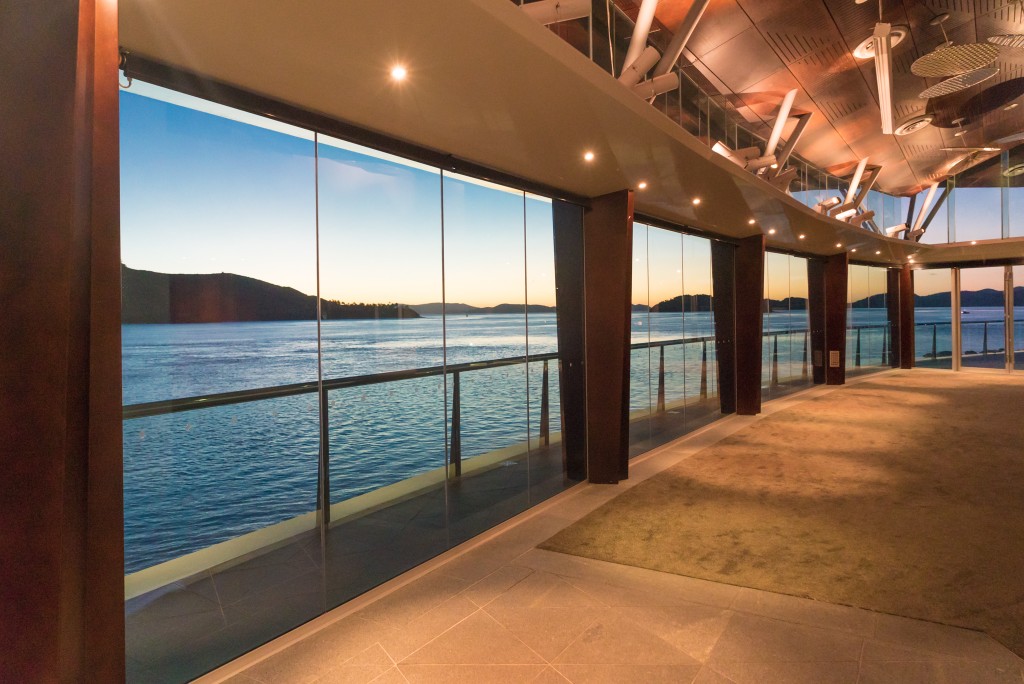
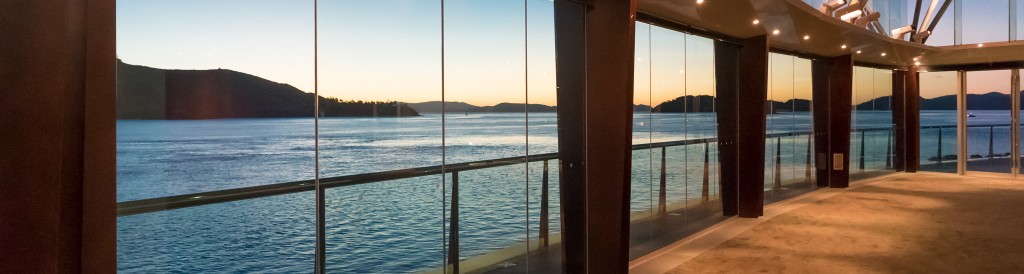
One of the landmark buildings on Hamilton Island is the Yacht Club on the harbour. As the building is on the west coast of the island, the lighting is at it’s most dramatic at sunset and the golden hour that follows (which in reality last just a few minutes when you are trying to balance the exposure of the building’s lighting systems with the colour that is left in the sky).
The file could have been captured at ISO 100 with a shutter speed approaching 1 second using a tripod, but the A7S allows the photographer, tripod free, to cover more ground and capture more angles during this brief period of time. On close inspection of the file you can make out fine noise in the darker shadows but this does not serve to rob the file of essential fine detail.
Time-Lapse
Another advantage I envisaged with the A7S is in the capture of still images for time-lapse sequences. Instead of capturing a sequence of full-resolution files and then having to laboriously down-sample to full HD or 4K in post-production, the 7S offers the photographer the opportunity to capture files slightly larger than 4K (with enough extra pixels to straighten a file) or, by attaching an E-Mount APS-C lens, files that measure 2768 x 1848 for full HD movies. These mini-Raw files will take up far less space on a computer’s hard drive and process much more quickly than the files from an A7 or A7R camera.
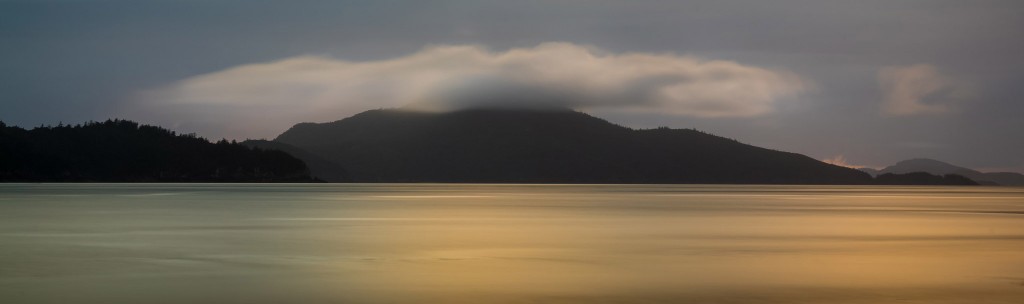
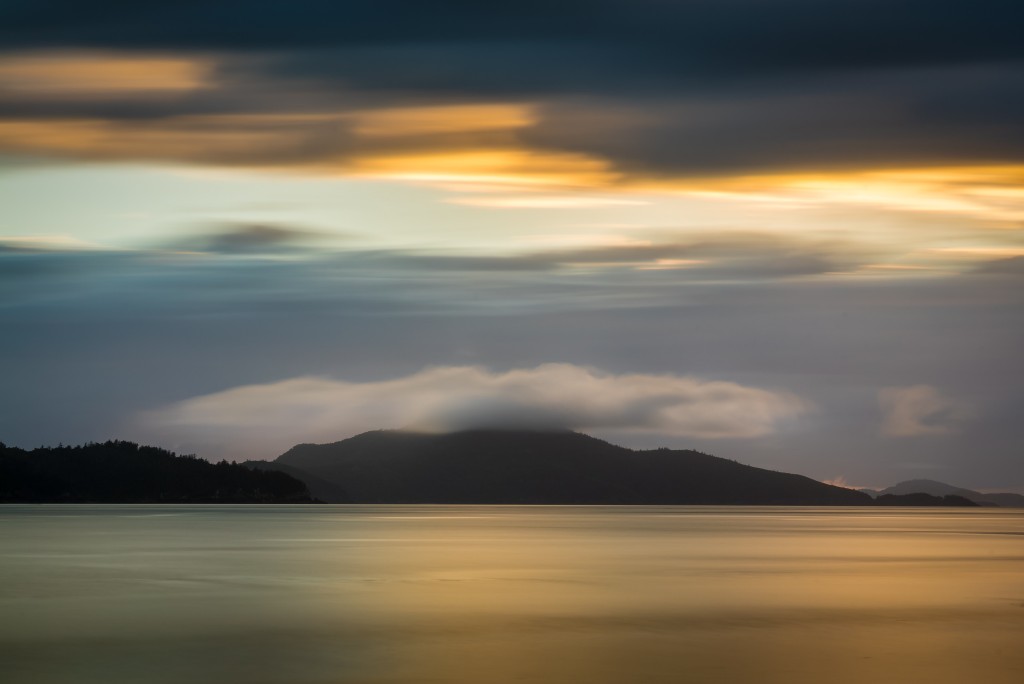
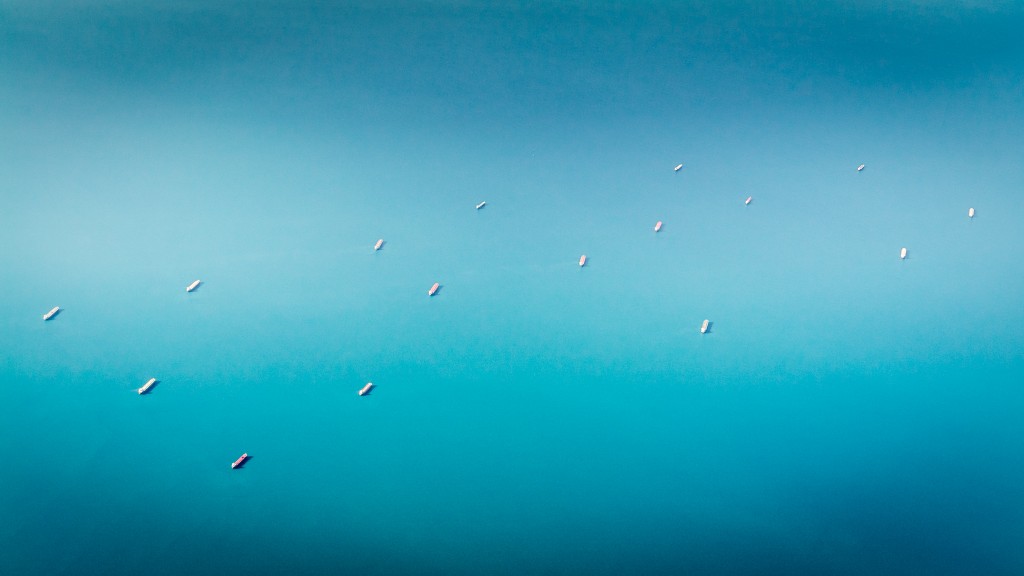
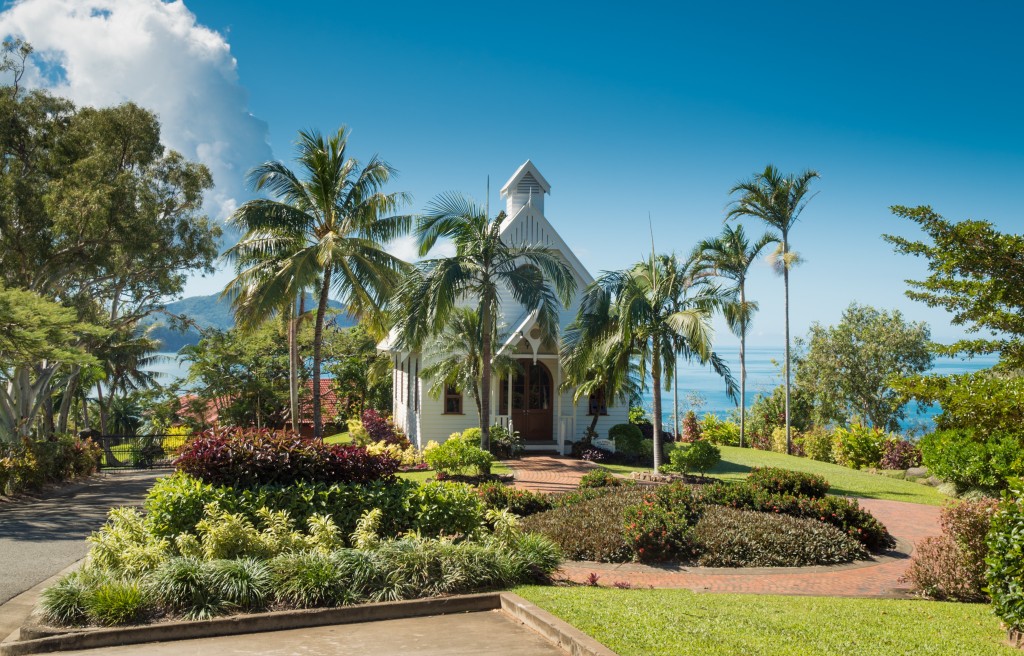
The illustration above is a scouting image (to find the best spot prior to creating a time-lapse sequence) captured hand-held 42-minutes before sunrise. On close inspection of the file, when compared to the high ISO Raw files captured at the Yacht club, it does not appear to have performed so well in the noise department.
If, however, one factors in the level of ambient light you can begin to appreciate how the camera is performing in virtual darkness (I could not see the view the camera captured). If the shutter speed had been raised to 1/60 second on this occasion, the ISO would have had to be raised to 204,800 to capture an image with the same exposure. Not only is the file usable with some careful (localized) noise reduction, but also I was absolutely astonished that the camera could find something to focus on. The -4 EV capability of the A7S sets new autofocus performance standards for digital cameras in low light.
You have to also take your hat off for the OSS performance (Sony’s image stabilization) for rendering sharp edges on the distant island (it was, however, a pre-caffeine shoot). The resulting time-lapse sequence was captured using an ND filter for the entire duration of the sequence (including the pre-dawn shots). This allowed slow shutter speeds to be used after the sun had risen but forced higher ISO settings to be used on the early shots. The higher ISO settings – even on longer exposures is something the A7S is well suited for.
Conclusion
There will always be a photographer who will be searching or waiting for the perfect camera – a camera that is all things to all photographers. The truth is that it will probably never exist. Sony has, in my opinion, taken an intelligent step with the A7S camera. The A7S offers astonishing flexibility for specialized photographic applications and breaks new ground in many, but not all, categories of imaging performance. It will attract a loyal following and is bound to become a classic camera in the history of imaging technologies. Many photographers will not need what this camera is capable of producing, while others will never feel comfortable about a camera that has just 12 megapixels in 2014 (even though many do not currently use more than 25% of the detail that there camera is capable of resolving). Some photographers, like myself, will now feel compelled to carry two bodies to increase the range of environments they can now shoot in. The camera gets a gold star in my grade book and the camera bag will be making space for a new addition to the E-Mount ILC family.
For lovers of super-fine detail in very large prints the A7S cannot compete with its A7R sibling. With care, however, if the files are captured sharp at more moderate ISO settings and using Sony’s Carl Zeiss lenses, the files can successfully be grown to 24-megapixels in post-production with remarkably good results to meet large print requirements. I would have no hesitation in printing the A7S files at A3 or A2 sizes. Only the photographers owning 36-Megapixel cameras with their nose touching the print would be any the wiser.